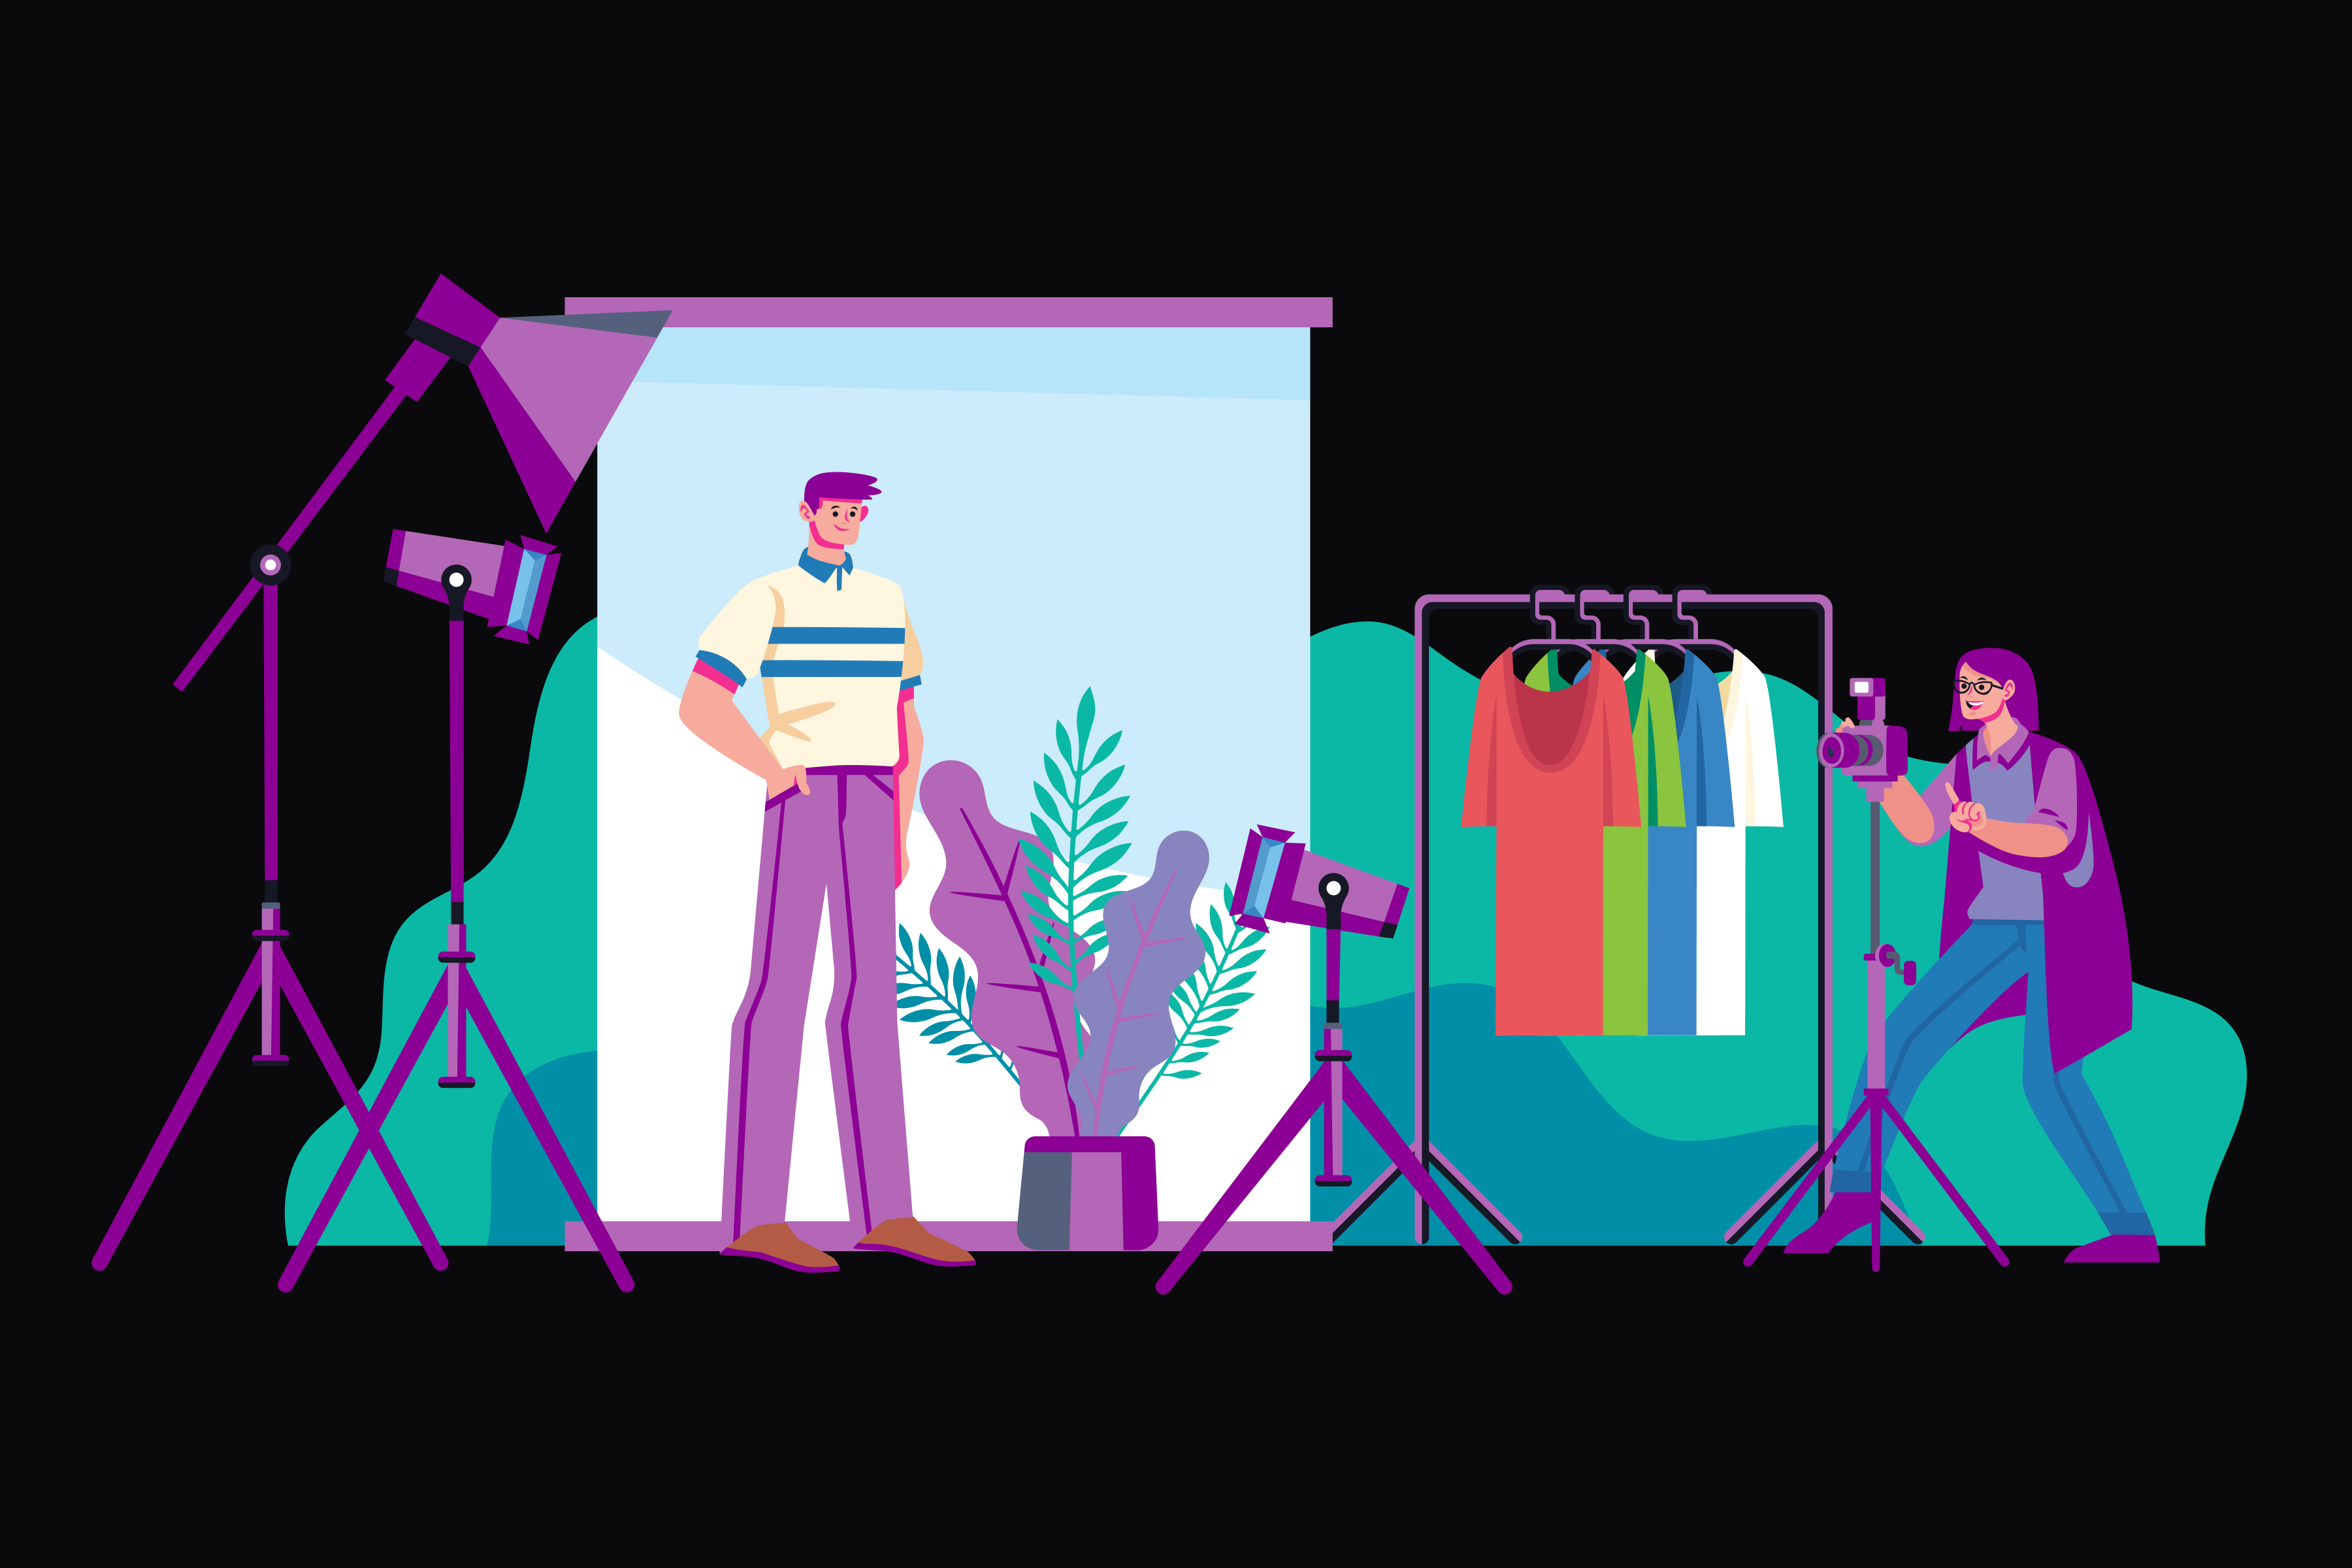
When someone sees one of your product images, do they grasp who your brand is, what you stand for, and why your product matters? That’s the power of good Product Photography. A well-crafted image can do more than just show a product,it can tell your brand’s story, evoke emotion, convey values, and persuade a customer to click “buy.” In this article, we’ll dive deep into how to ensure your product photography isn’t just pretty,it communicates your brand story.
Because today’s market is full of competition, a product photo is no longer just a picture it’s a way to communicate your message, represent your brand, and connect with your audience without words.
Why Product Photography Is Important for Brand Storytelling
Before we talk about the tips, it’s important to understand why product photography matters so much for your brand story:
- First impressions matter. Most customers decide how professional and trustworthy your brand looks within just a few seconds of seeing your product photos.
- Emotional connection. Photos that align with your brand’s message help people feel something,aspiration, trust, joy, comfort.
- Consistency builds recognition. When all your product photography follows a coherent style (lighting, background, mood), you build visual brand identity that customers remember.
- Differentiation. In saturated niches, creative images help your offerings stand out. These are your unique visual “signature.”
- Sales driver. Product photos that sell are not just accurate,they are aspirational, persuasive, and aligned with your brand story.
With that in mind, let’s get into how you can ensure your product photography tells your brand’s perfect story.
1. Define Your Brand Story and Core Message
You can’t hope to express your brand through images unless you first clarify what your brand is about. Ask yourself:
- What values do you want to project? (e.g. eco-friendly, luxury, playful, minimal)
- What is your brand personality? (fun, serious, warm, edgy, refined)
- Who is your ideal customer? What aspirational world do they live in?
- What mood or feeling do you want your photos to evoke?
Once you map that out, you have your guiding star. Every decision in lighting, props, styling, and editing should reinforce that core message.
For instance, if your brand is eco-conscious and minimal, your product imagery might emphasize natural textures, neutral tones, recycled materials, soft lighting, and nature elements. That way, every image becomes a piece of brand storytelling through images.
2. Plan a Visual Style Guide (Your Photography Playbook)
To maintain consistency and coherence across many images (website, social media, ads), create a visual style guide. This is your internal “rulebook” for imagery. Here’s what to include:
- Color palette / mood tones (warm, cool, muted, vibrant)
- Lighting style (soft diffused, directional, dramatic shadows, backlight)
- Background style (clean white, gradients, natural settings, textured)
- Props and context elements that reflect your world
- Angles and framing rules (top view, diagonal, close-ups, flat lays)
- Post-processing rules (contrast, color grading, shadows, retouching style)
This is the backbone of your visual brand identity, which ensures that a user scrolling your feed will instantly sense “This is you.”
3. Choose the Right Type of Product Photography
Not all product photos do the same job. Here are types you should mix, depending on your brand narrative:
- Studio / clean product shots: classic, on white or neutral backgrounds. Great for clarity and catalog views.
- Lifestyle product photography: show your products in real-life settings or being used. Helps people imagine ownership and daily use.
- Creative product photos: playful compositions, surprising angles, inventive macro shots, quirky props. These draw attention and express personality.
- Detail / close-up shots: zoom into textures, stitches, features, materials. These build trust and luxury appeal.
Using a mix of product photography ideas like this gives your brand storytelling more depth and flexibility.
4. Perfect Your Setup: Background, and the Art of Composition
Lighting & Light Control
- Use soft and even light so your product looks clear and smooth without any harsh shadows.
- You can also use reflectors or extra lights to brighten darker areas, but make sure the photo still looks natural.
- If you want to add a creative touch, try using side light or light from behind the product it can create beautiful shadows and make the photo look more interesting.
- Avoid mixed color temperatures (e.g., daylight vs tungsten) unless done intentionally.
Background & Product Photography Background
- For catalog shots, often a simple white or neutral background works best. It keeps focus on the product.
- For more expressive scenes, choose backgrounds (wood, marble, fabric, outdoors) that reinforce your brand story.
- Use gradient or subtle textures if plain is too boring but you want minimalism.
- If you use a product photography box (a small mini-studio box with diffusion panels), that helps control reflections and shadows for small-to-medium items.
Props & Styling
- Choose props that make sense with your brand (flowers, fabrics, materials, surroundings).
- Use scale / layering to add depth,e.g. place the product partially behind or in front of props.
- Make sure props complement, not compete, with your product.
- Composition & Framing
- Use the rule of thirds, leading lines, or negative space to guide the viewer’s eye.
- Combine wide shots with close-ups to tell a fuller story.
- Try top-down flat lays, hero shots (dramatic angles), and human-touch images (hands holding, interacting).
5. Tell a Story in a Series
One photo can be strong, but a series of photos tells a mini-narrative. Example for a skincare brand:
- Product on a clean background (hero shot).
- Close-up of texture (cream swirl).
- In-context with a bathroom or vanity.
- Model using the product (hand applying).
- Packaging environment (box, elements, brand logo).
Together, these images show what it is, how it feels, how to use it, and the world it belongs to. That’s branding through photography in action.
6. Editing & Post-Processing with Brand Consistency
Good editing turns photos from “okay” to polished. But the key is consistency and subtlety.
- Stick to your style guide (contrast, color tone, mood).
- Don’t overdo retouching, preserve realism.
- Use presets or LUTs (light grading) so all your images have a cohesive look.
- Ensure color accuracy for product realism (especially for e-commerce).
- Use cropping and alignment consistently.
When editing, always ask: “Does this enhance the product and reflect our brand voice?”
7. Use the Right File Formats & Output for Marketing Channels
Because your photos will live in different places (website, social media, print ads, packaging), you must adapt:
- High-resolution, lossless format (TIFF or PNG) for print or large displays.
- Optimized JPEGs with web compression (without sacrificing quality) for websites.
- Square, vertical, or story-friendly versions for social media.
- Use transparent PNGs if product needs cutout (e.g. on colored backgrounds or overlays).
Also, maintain master files so you can re-edit or re-purpose images later.
8. Focus on Product Photos That Sell
To make your images truly effective in marketing:
- Show the benefit, not just the features: e.g., your bag being carried in a lifestyle scenario shows utility and style.
- Use call-to-action imagery , hav a visual pull that hints “Buy me, wear me.”
- Highlight best selling points (size, texture, use) clearly.
- Use real people (hands, models) in some frames to create connection,don’t always have a floating product.
- For social ads, leading with an aspirational image tends to attract more attention.
These are core product photography tips for turning viewers into buyers.
9. Optimize for Branding Through Photography & Marketing Integration
Your product photography should not live in isolation, it must link to your marketing strategy.
- Plan images around upcoming campaigns or seasonal themes (e.g. holid,ays, new arrivals).
- Coordinate colors and moods with website design, ad creative, packaging design.
- Use consistent visual branding across all touchpoints (website banner, social feed, email, print).
- Test different creative product photos to see which perform better in ads (A/B testing).
- Use imagery in blog posts, lookbooks, behind-the-scenes,all to build storytelling continuity.
Thus, photography becomes a branding through photography engine powering your marketing.
10. Scaling & Evolving Your Product Photography
As your brand grows, you’ll want to scale and improve continuously:
- Create a shot list for each product so you don’t miss critical angles or stories.
- Build or rent a product photography box studio to speed up small-item shoots.
- Develop layers of complexity: start with basic clean shots, then expand into creative, lifestyle, and campaign shoots.
- Archive and categorize your images in a digital library with tags (product, color, theme) so you can reuse them easily.
- Periodically revisit your visual style guide, refresh it to stay current with trends while preserving brand coherence.
- Train your team or hire specialists so that you don’t have to do it all yourself.
Example Workflow: From Concept to Final Images
Here’s how a typical shoot might go, illustrating how each piece contributes to brand storytelling:
Pre-Production
- Brainstorm concepts aligned to brand values (e.g. calm, earthy, modern).
- Gather props, plan color harmonies, sketch layouts.
- Choose your backgrounds, lighting setup, camera gear.
Shoot
- Start with clean studio images so you have baseline product visuals.
- Then create styled scenes with props and contextual elements.
- Capture detail close-ups and textures.
- Use lifestyle settings or models to bring in emotion.
Review & Cull
- Remove extra or weak photos keep only the strongest ones.
- Pick images that match your story and message.
Edit / Process
- Batch edit with your preset to maintain consistency.
- Tweak color, contrast, sharpness.
- Retouch gently to remove distractions.
Export / Deliver
- Prepare multiple versions (web, social, print).
- Name and categorize files properly.
- Upload and integrate into your website, catalogs, ads.
Throughout that process, you’re not just capturing a product, you’re capturing your brand world.
Mistakes to Avoid
- Incoherent style: shifting lighting, backgrounds, and mood inconsistently weakens brand perception.
- Over-editing: too much retouching makes products look fake.
- Ignoring context: entirely sterile product shots risk being impersonal.
- Forgetting scale / usage cues: showing size or use is essential so customers don’t misjudge.
- Neglecting background or props: plain backgrounds are safe, but lifeless if overused.
- Poor file management: misnaming or disorganizing files wastes time later.
Summing It Up
If you want your product photography to truly tell your brand story, you must:
- Clarify your brand message first.
- Build a visual style guide.
- Use a mix of clean, lifestyle, creative, and detail shots.
- Control lighting, background, props with intention.
- Tell narratives through image series.
- Edit with brand consistency.
- Integrate with marketing.
- Scale smartly.
You’ll wind up with product photography that does more than show a product,it communicates your brand soul. And those are the images that not only get clicked,they get remembered, shared, and acted upon.
FAQs
Q1: How many images should I shoot for each product?
A1: Aim for at least 4–6 core images: hero, close-up, lifestyle/use, top-down, detail, packaging. For campaigns or flagship pieces, shoot 10–12 to give you flexibility.
Q2: Do I always need a model or human in product photography?
A2: Not always. Clean product shots are essential, especially for e-commerce. But including hands, models, or context in a few shots builds emotional connection and helps brand storytelling through images.
Q3: What’s the difference between lifestyle product photography and creative product photos?
A3: Lifestyle product photography shows the product in a real-life setting (e.g. a watch on a wrist, skincare on a dresser). Creative product photos push boundaries, unusual angles, dramatic lighting, bold props. Use both to balance relatability and uniqueness.
Q4: Can I do quality product photography with a smartphone?
A4: Yes, with careful planning. Use natural or diffused light, a clean background or DIY product photography box, and good post-processing. But for scaling and brand consistency, a professional camera and tools help.
Q5: How do I measure whether my product photos are “working”?
A5: Monitor key metrics, click-through rate in ads, conversion rate on product pages, bounce rate, average time on page. A/B test creative images. If a new style consistently performs better, that’s proof your storytelling resonates.